UPDATE: June 21, 2016 – Microsoft has released a free repair tool for the Windows 10 START menu. You can read very brief explanation and download it here.
.
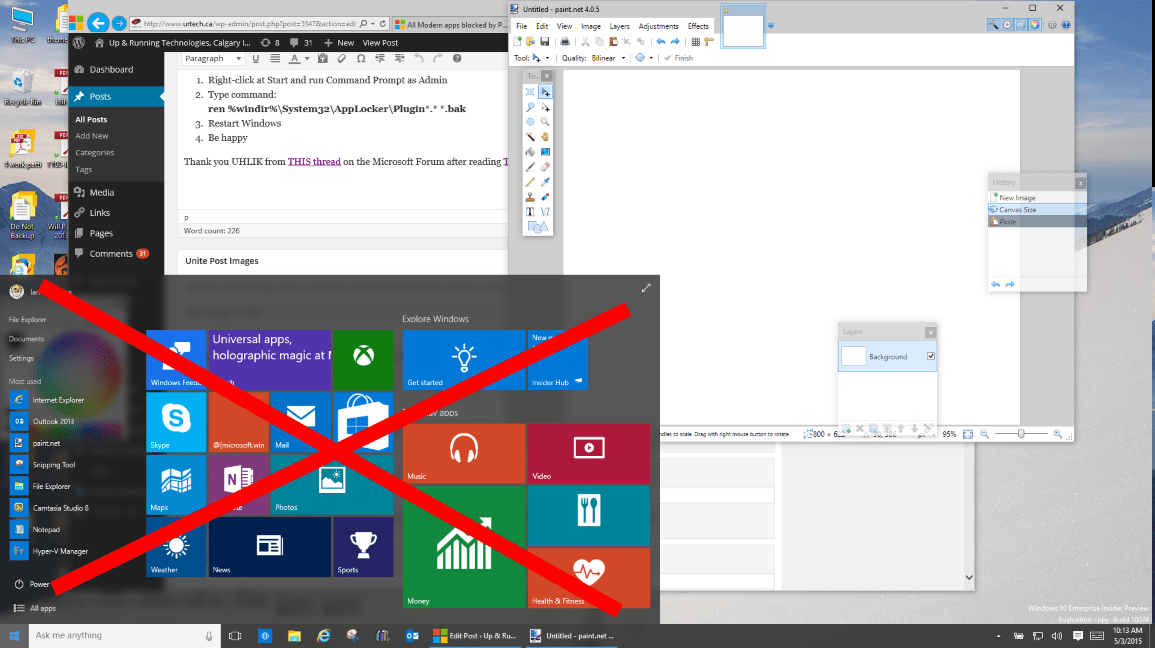
It was a dark and stormy nighty in April when I installed Windows 10 build 10041 (on the fast ring) and the START button stopped working… ok enough fun. If you have installed a recent Windows 10 build you may find that the START button and all of the modern apps either do nothing or error out with messages about .NET or PARENTAL CONTROLS.
In my case I just installed a free START menu utility (I like START 8 or CLASSIC SHELL) that you might have install on Windows 8, and waited for Microsoft to release the next build of Windows 10 that I hoped would be installed automatically as I am on the FAST RING. It did not because Microsoft changes Windows Update to be a ‘Modern App’ which means it will not run. Soooo, I thought was pretty smart to just download the build 10074 ‘.EBD’ upgrade file from a site and run through the conversion to .ISO and then do an in-place upgrade (which just means run SETUP from the DVD and tell it to upgrade). That did work… for 3 days. This morning my START menu was dead again, AAARRRG!
Microsoft needs to get its Application developer jobs to fix this but until they do, here are solutions that have worked for us:
The I found the fix:
Thank you UHLIK from THIS thread on the Microsoft Forum after reading THIS thread on the forum.
Another fix for the The Start Menu Does Not Work problem is:
UPDATED: August 19, 2015: A third fix I have used successfully is:
A forth fix I found came directly from Microsoft Partner support:
If none of these fix the Start Button, you can try our advanced solution to the Windows 10 Start Button not working, which has solved the issue for me twice already this month and you can read about it here.
If you have had enough, you can just give up and REFRESH you machine.
This will reinstall Windows 10 but it will keep all of your files (Documents, Pictures…) but it will kill all of the programs that have been installed. Everything that is dead will be in C:\WINDOWS.OLD so you can fish out anything that is missing, but you will have to reinstall your programs, like Microsoft Office.
This website uses cookies.
View Comments
When I follow your steps for a refresh I get to a screen that tells me to select my keyboard. It does not give me a way to make this selection.
Can you help?
Hi Ron; Before you do the refresh, try the latest fix for this: http://www.urtech.ca/2015/09/solved-fix-windows-10-start-button-does-nothing-in-10-minutes/ It has worked for me twice in the last two days so I am hopeful it will help you too.
After trying everything listed here and on other sites, I ended up doing a system restore point, which worked for me, HOWEVER -- please read how this had to be done:
The restore would fail, every time, whether from within Windows, or from the boot recovery mode.
Finally, I tried chkdsk. To do this, open command prompt (or power shell) AS ADMIN, type in chkdsk c: /f . If your Windows OS is on another drive, substitute that for c:. This will look for and attempt to repair errors on the hard drive. You can also use /r instead of /f, this will look for bad sectors as well; it will also increase the time to do the scan considerably, but additionally does everything /f does.
After you hit enter, it will give you an error that it cannot be run at that time, go ahead and follow through to schedule a scan on your next reboot. Reboot windows, chkdsk will run.
Only after I did this, could I get one of my restore points to work.
Don't know if it will work for you, but that's how I fixed this issue.
Looks like I found a permanent fix. It has worked for me for one week now. The fixing is kinduv complex and involves:
1) the Command Prompt (for creating 2 local accounts);
2) PowerShell to add the missing components to the Microsoft account (the one that gets corrupted after a couple of days following the upgrading to Windows 10)
3) Deleting the old and corrupted Database in the original Microsoft account (C:\Users\YOUR_USERNAME\AppData\Local\TileDataLayer)
I published the complete instructions to make Windows 10 upgrade work for the vast majority of users who upgraded from Windows 7. You might want to print all steps and follow them carefully:
http://forums.saliu.com/windows-10.htm
(Section VII: The Final Solution — It Looks PERMANENT... REALLY!)
Ion Saliu,
Rehabilitated Windows 10 Victim
“A good man is an axiomatic man; an axiomatic man is a happy man. Be axiomatic!”
Hi Ion! I used your site (and several others) over the last couple of days to solve this problem again and to write up: http://www.urtech.ca/2015/09/solved-fix-windows-10-start-button-does-nothing-in-10-minutes/
Thanks for the heads up. It is definitely appreciated. (... and yes, I gave you a credit and a link at the bottom of the page :) )
Hi Raven,
Thank you. Methods 1,2&3 failed but PowerShell worked. I couldn't access it as Administrator but I got it through Ctrl+Alt+Delete.
Great stuff Raven.
Appreciated.
Cheers.
4th option for me basically worked, but it also removed ALL of my x86 apps from the start menu. Not just from the main screen either, but from the entire "All Apps" list. Only modern apps are still there and launch. x86 apps are still installed and work if i launch from a desktop shortcut or from the programs folders on C: drive. I'm also using Insider Preview 10532 might have something to do with it.
The first solution worked, but after that the computer is working very slowly to complete everything. Any idea what could have happened?
I would not know what would cause your machine to slow down but I don't think it was deleted the cached files. Earlier tonight I worked on a slow Windows 10 PC that had a failed START button and after I ran through the new solution http://urtech.ca/2015/09/solved-fix-windows-10-start-button-does-nothing-in-10-minutes the START button was working and the performance had returned to normal. Perhaps this is worth a try.
Hi,
This might be a stupid question but how do you set up a new user without going through the start menu?
You can create a new user account in several ways:
1: Right Click the START button and select CONTROL PANEL > USER ACCOUNTS > MANAGE ACCOUNTS > ADD A NEW USER IN PC SETTINGS
2: Command Line see: http://www.urtech.ca/2015/09/solved-fix-windows-10-start-button-does-nothing-in-10-minutes
I hope this helps :)
Just happened again -
right after using CCleaner v4.19.4867 64bit
Both Start Menu & Calendar (calendar pop-up when you left click time - bottom left screen) stopped working
CCleaner causing error?
fixed with Run(as Admin) + Powershell + Get-AppXPackage -AllUsers | Foreach {Add-AppxPackage -DisableDevelopmentMode -Register “$($_.InstallLocation)\AppXManifest.xml”}
#4 worked for me but menu disappeared when I rebooted. Is there a PERMANENT solution?
(Thanks for these other fixes by the way. I am sure Microsoft appreciates your fixing their crap)
Hi Bob;
I had two Windows 10 machines that these fixes failed to resolve the START button problem so I blew my brains out finding other solutions and have just had success with http://www.urtech.ca/2015/09/solved-fix-windows-10-start-button-does-nothing-in-10-minutes/ In case you are wondering, yes, as a tech, I deal with this type of problem all day so the solutions listed here solve the issue in 9 out of 10 machines I work on. I hope this works for you too.
A forth fix I found came directly from Microsoft Partner support:
Press Windows Key + R on your keyboard.
Key in PowerShell and hit Enter.
Right click on the PowerShell icon on the taskbar and select Run as Administrator.
Now paste the following command in the Administrator: Windows PowerShell window and press Enter key:
Get-AppXPackage -AllUsers | Foreach {Add-AppxPackage -DisableDevelopmentMode -Register “$($_.InstallLocation)\AppXManifest.xml”}
Wait for PowerShell to execute and complete the command. Ignore the few errors (in red color) that may pop up.
When it finishes, try hitting Start and hopefully it’ll start working.
BUT YOU MUST HIT ENTER BEFORE U TYPE powershell IN CMD
I tried all of the FIXES for this problem and this one worked for me! Thanks so much!